Create images for your blog with Canva
If you blog or use social media for your business, I’m sure you have seen more than once that you need to create images for your blog and use graphics.
People are much more inclined to look at pictures than they are to read text. It’s not necessarily a good thing, but it’s the way of the world. And we all have to deal with reality, not what we want reality to be.
My niche is emergency preparation. I’m not so much about going on manoeuvres in the words or living off-grid. My goal is to ready families to meet disaster head on, prepared with the supplies and confidence to survive.
And I use a lot of graphics to educate readers and tell my story.
Eeny-Meeny-Miney-Moe
When it comes to using graphics for your business, there is a lot to choose from. You can create images for your blog using quotes – your own or someone else’s; demonstration photos; memes; funny pictures; and gifs – graphics interchange format.
The most important thing to remember is that your graphics need to enhance your text. They need to move the story forward, not detract from it or clutter up your post.
Where to Begin?
Let’s start with the easiest – a graphic quote. Sometimes people think that you have to have knowledge of PhotoShop, but that’s not true. The internet has made it easy to create images for your blog.
My favourite is Canva.com. You can sign up for a free membership to Canva here.
Once you sign up, you can access your dashboard. As you can see (and this graphic shows only a portion), there are tons of options.

There are templates for social media, blogging, marketing, and much more. If you want, you can even create your own template with the dimensions you want by clicking on ‘Use custom dimensions’ in the upper right-hand corner.
And they are all free. Why? Because they have a premium version with a monthly subscription they hope you’ll upgrade to. They also sell images for $1.00. But today, we’re going for free. So choose a template and click on the ‘Design’ tab to get started.
Making Your Way Around Canva
Once you have set up your free account and clicked on the ‘Design’ tab, you will be able to access your creation station.
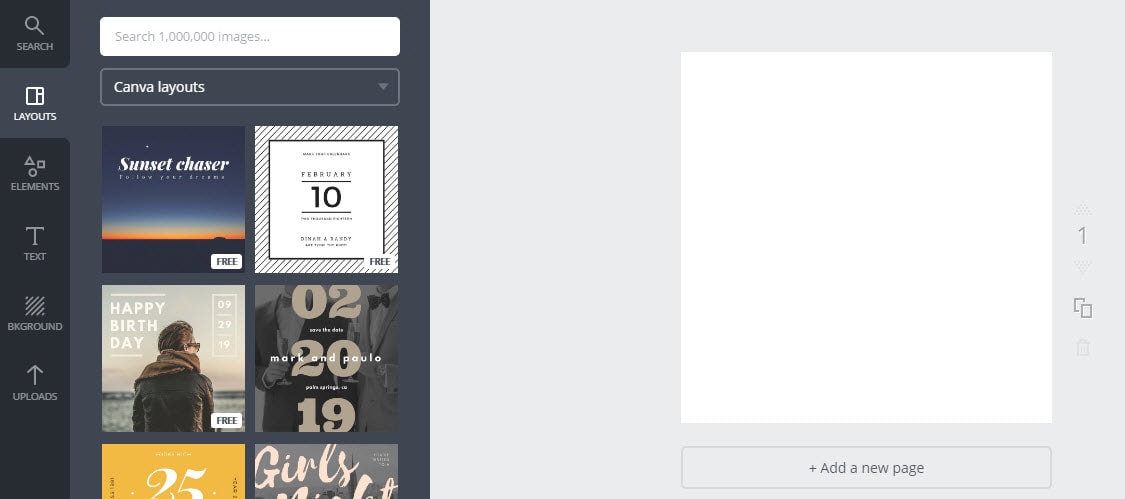
On the left are your design options. The default is ‘Layouts’, but since you’ve already chosen a template, we’ll move on to design elements. I chose my own dimensions (800×800 pixels) and you can see the white canvas above.
Choose Your Background
You may start by choosing a background.
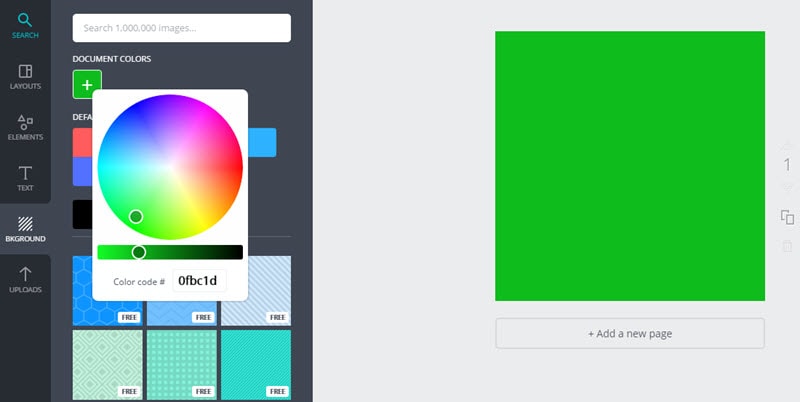
If you want a solid background, you can choose from several colors or click on the plus sign to bring up the color wheel. Click on the wheel to choose a color, then use the slider to make it darker, if you wish.
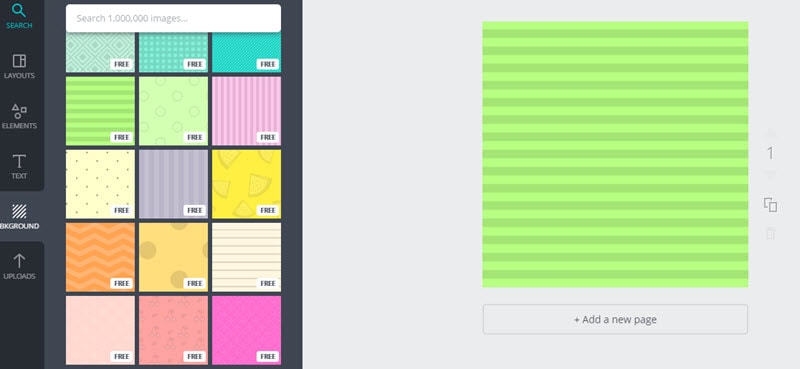
If you would rather have a patterned background, you can choose from an array of Canva backgrounds. There are many free ones to choose from.
Adding Your Image
If you decide that you would like to add an image, you can search for one by typing a keyword in the search box. My graphic is about preparation. That would include food storage, water storage, survival skills and the like. I searched Canva for photos on food storage and gardening, but there were no free images.
So I decided to upload my own photo.
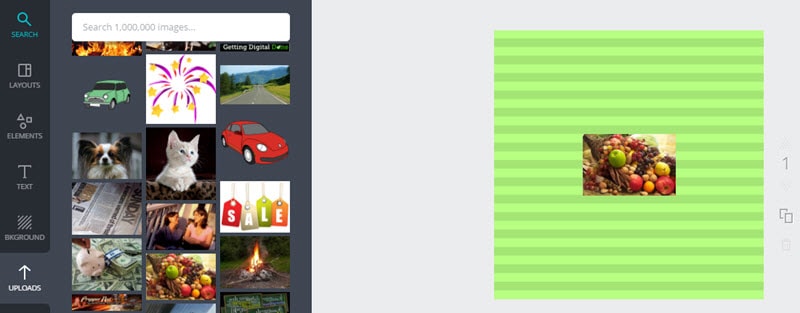
I know the picture looks a little small, but that will be taken care of later.
Now It’s Time to Add Your Text
There are so many text options that it makes it easy to find something that looks good with your graphic and background. The text options look like this:
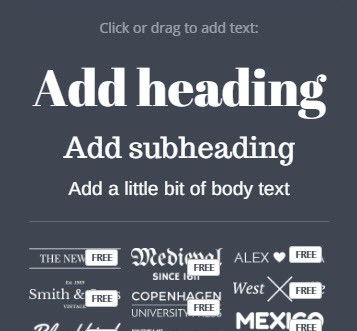
The three top elements are an easy way to add text. You can either click on them or drag them to your canvas. There are also text templates. In fact, I used one for the header graphic.
When you are adding text, don’t forget to put your website address somewhere in your graphic.
Once you place the text on your canvas, you can change fonts and colors. In fact, you can upload your own fonts.
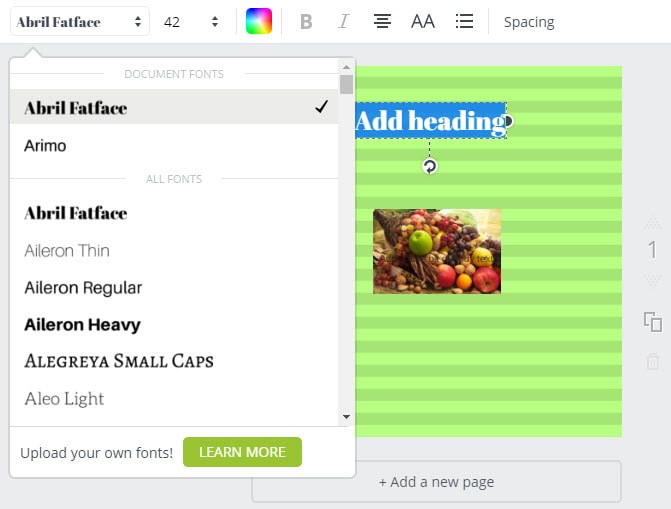
Re-size and You’re Almost Done
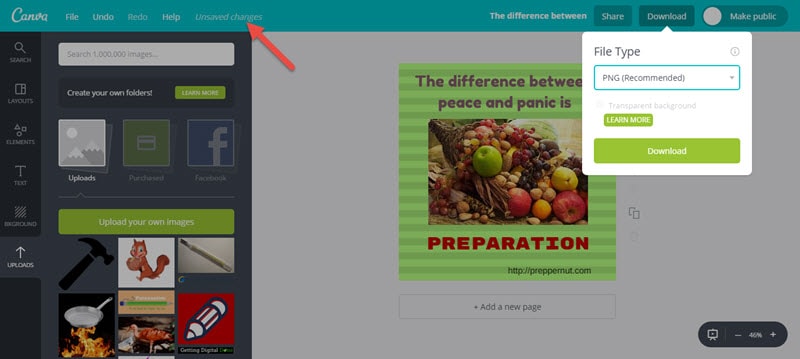
Before you are ready to download your image, click on the elements to highlight and then drag the corners to resize.
Canva automatically creates and saves your document. If you try to download before it’s saved, Canva won’t start the download until it has finished saving. The ‘save’ options are PNG, JPG, and two types of PDF. I save as JPG. You can then name the image and where you want to store it.
Put Your Image on a Crash Diet
The final step is to optimize your image. Images that use a lot of bytes can slow down your pages when they are loading. There are two reasons why you want your pages to load quickly. First, people don’t have patience with slow-loading pages and may leave your site. Also, the search engines don’t like pages that don’t load quickly.
There is a free and easy way to do this. Go to Optimizilla.com. Upload your picture, click on ‘compress’ download the image when it’s finished.
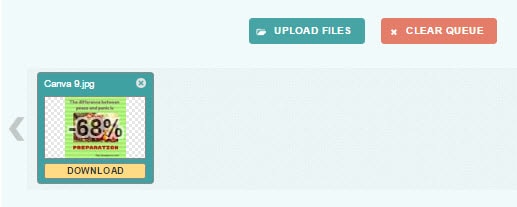
And you are done! Your image is ready to be uploaded to your website or posted to social media.
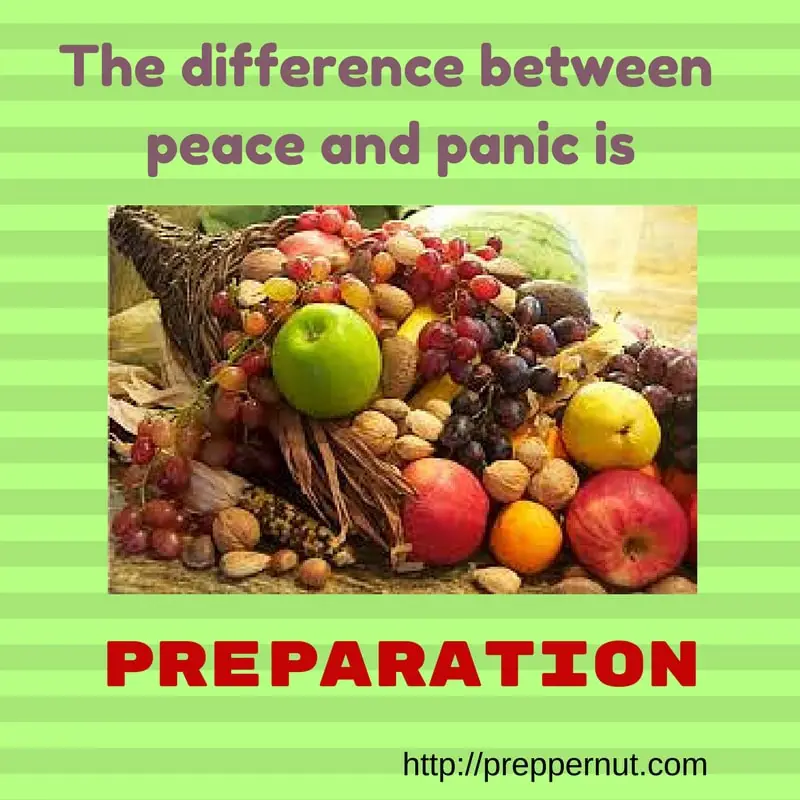
So that is how you create images for your blog with Canva. I hope that you have found this tutorial helpful. If you did, I’d appreciate it if you would leave a comment below and share it with your friends.
Thank you for reading,

- How to create images for your blog with Canva - March 19, 2017







basha
Thank you! Canva revolutionised my work. I work as a PR & marketing manager in hospitality and I don’t have a big marketing budget, so Canva is perfect for me. 1$ for picture is not so much but I can create some nice offers for our clients.
2020 whatsapp groups
Great site you have here but I was curious if you knew of any community forums that cover the same topics talked about here? I’d really like to be a part of community where
I can get comments from other experienced individuals that share the same interest.
If you have any suggestions, please let me know. Thanks a lot!